Member-only story
Get started with Cloud Build
This five minute tutorial will guide you through creating a container image using Cloud Build, Google’s tool for build, test, and deployment automation workloads.
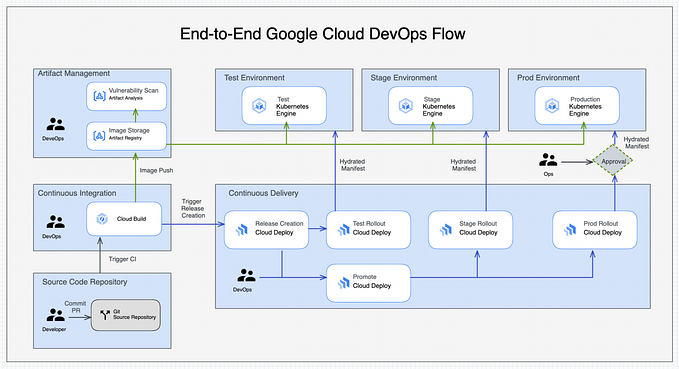
Join me for a brief introduction to Google Cloud Build, as we walk through writing our first build pipeline using Google’s CI/CD platform. In the next few minutes, we shall walk through setting up and integrating a Cloud Source Repository with Cloud Build and create a job that builds and pushes a container image to Artifact Registry.
Services used in this tutorial:
Create a Docker repository in Artifact Registry
Our initial step is be to create a repository in Artifact Registry to hold our container image. Artifact Registry can manage multiple repository formats, such as maven, npm, and in our case docker.
Type the command into a Cloud Shell session as shown below.
gcloud artifacts repositories \
     create my-docker-repo \
     --repository-format=docker \
     --location=us-central1 \
     --description="Docker repository"
Alternatively if you are using the console, head over to https://console.cloud.google.com/artifacts and hit “Create Repository”.

And that’s all you need to do — repository created!
Write our sample application
In Cloud Shell or using the Cloud Editor make yourself a new empty working directory and create two files. You can also follow along locally if you have gcloud sdk installed.
The first file will be called hello.sh and should be a simple script:
#!/bin/sh
echo "Hello, world!"
You will want to ensure that the script is executable chmod +x hello.sh


